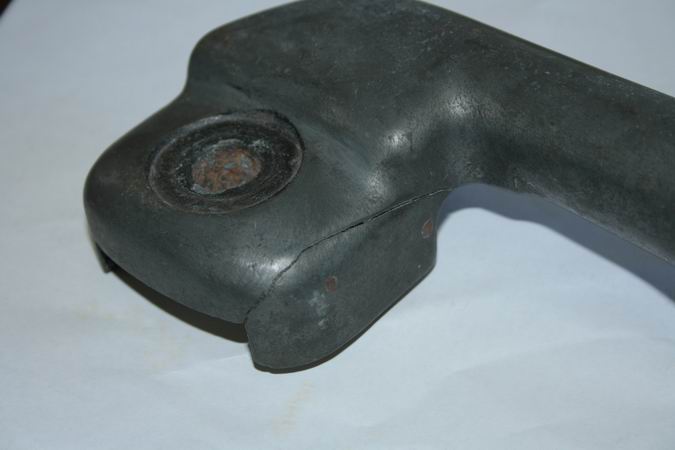
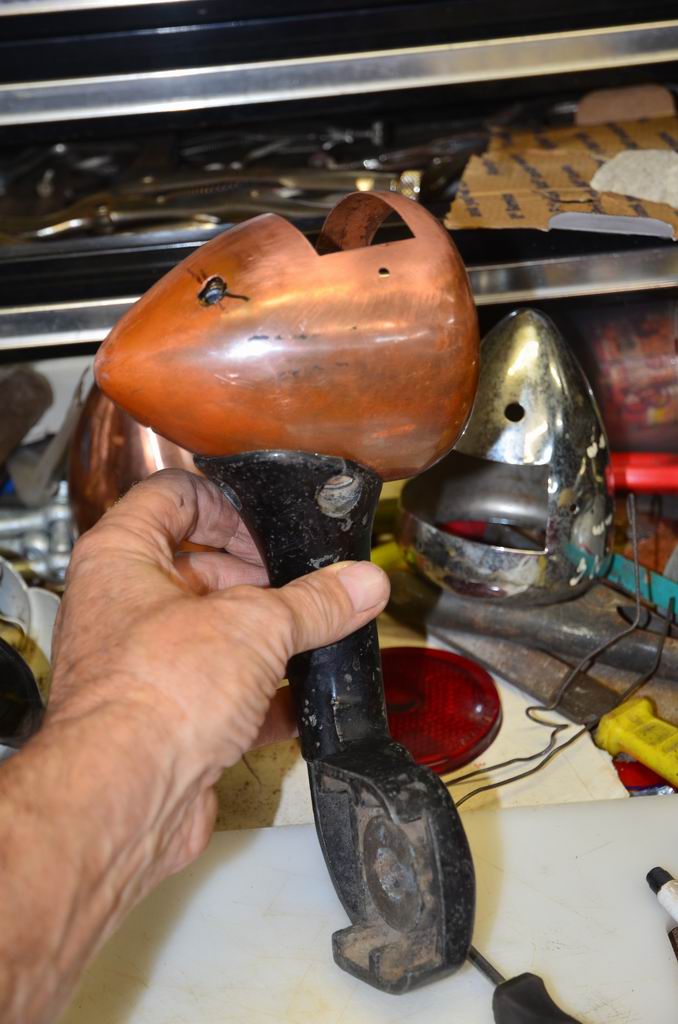
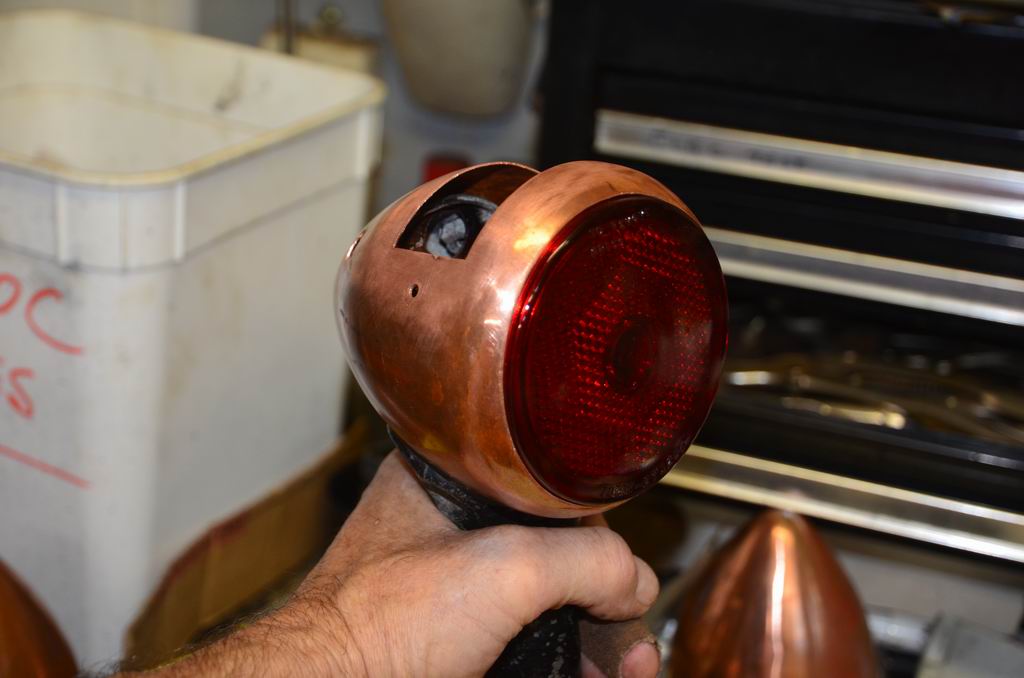
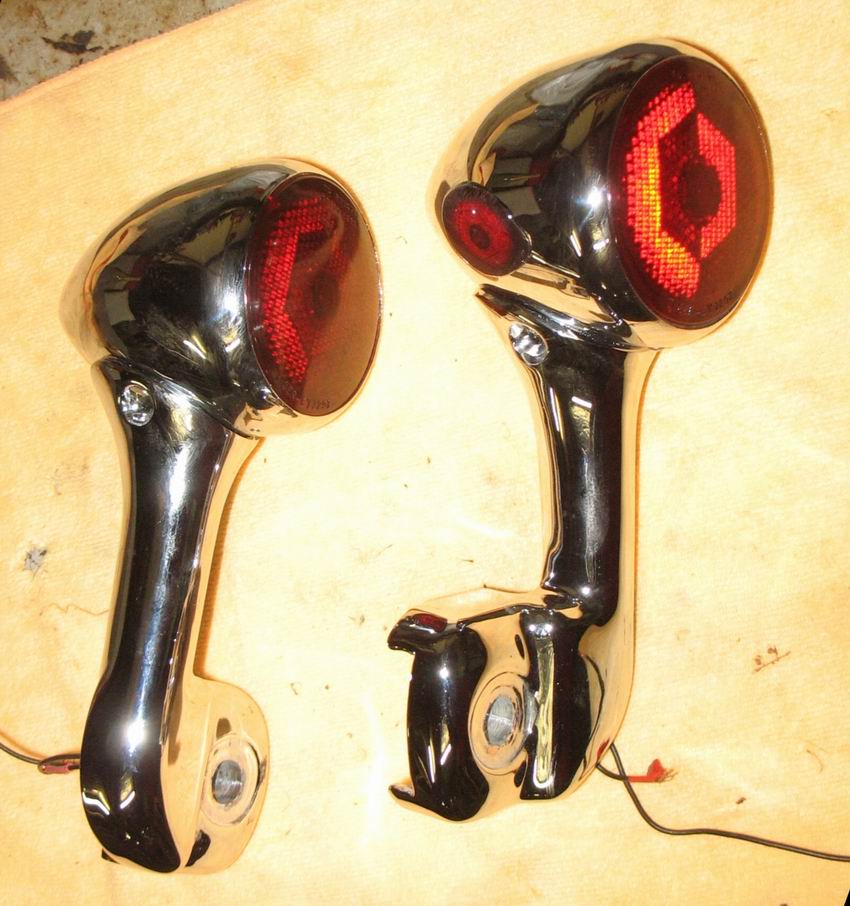
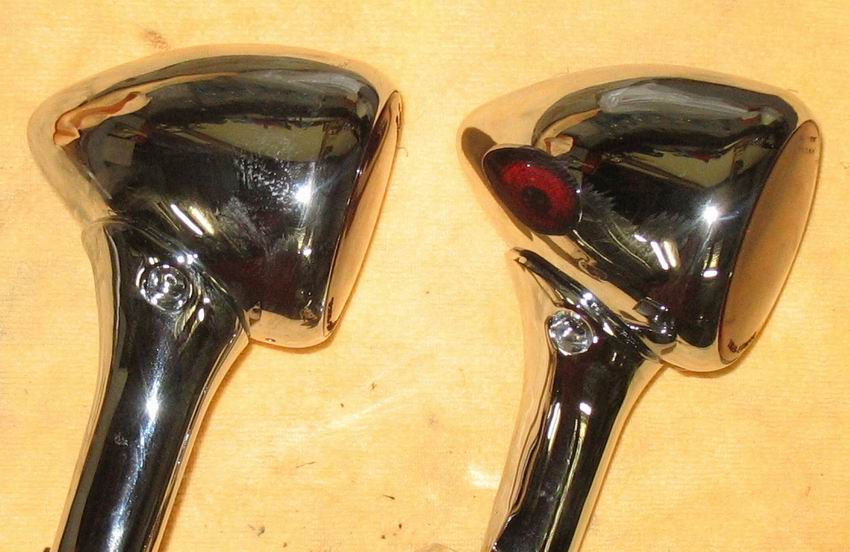
The tail-lights (tail-lamps) on 34 Chryslers are a bullet shape mounted on a cast alloy post that bolts to the rear bumper bolts.
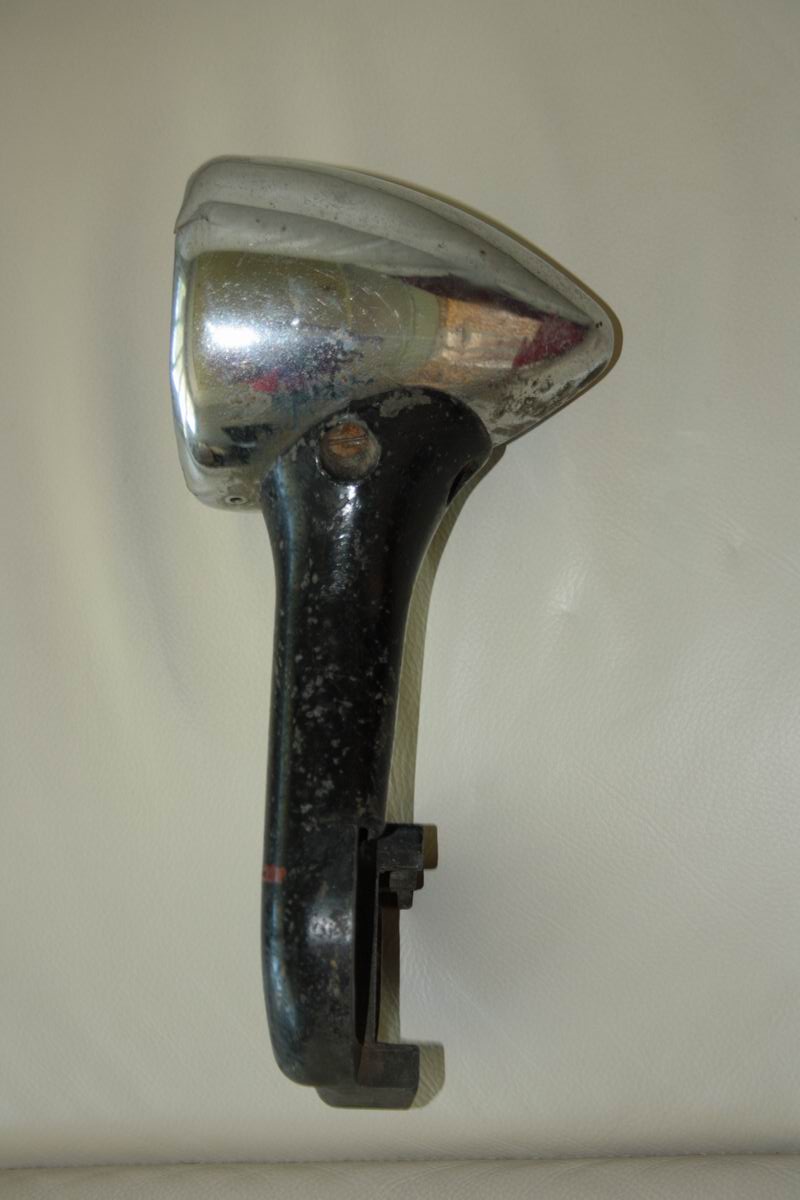
The originals had a pressed steel post on top of one side for the number plate, and a glass cut into the top. This distracted from the bullet shape so I am making both my lights plain. At the same time I am making a pair for Kens 34 Convertible and these have to be as close to factory as I can get. The body of these lights often gets crushed out of shape when fitting the glass. The glass has a flat ground on each side and is pressed up and clips into place with 3 curved springs made of flat steel. These always are broken or missing so I have to make new ones of these.
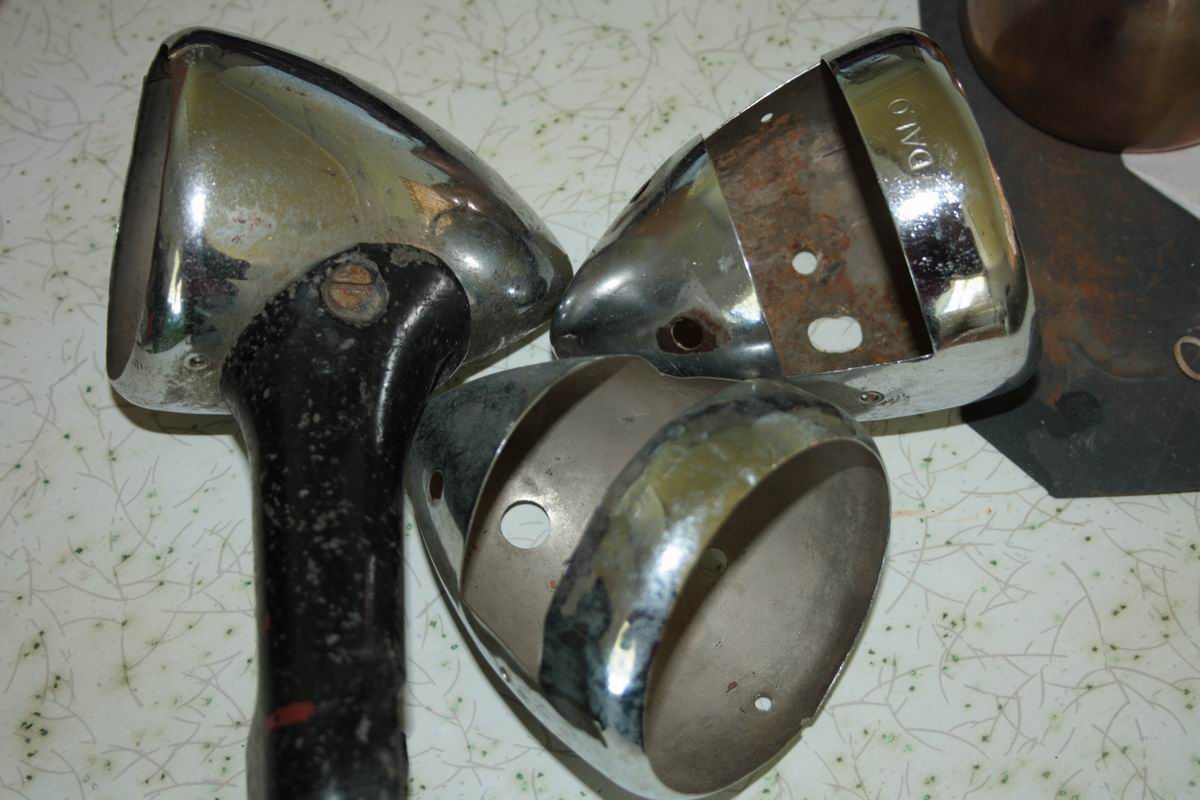
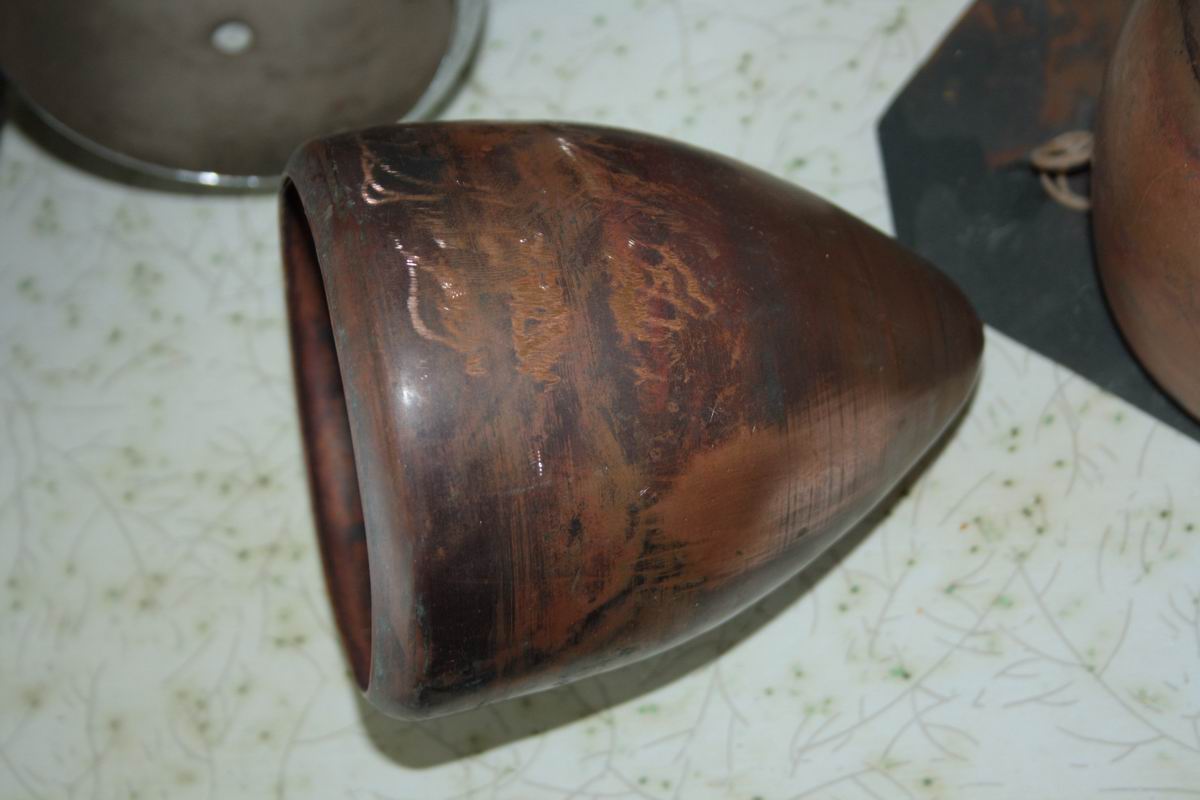
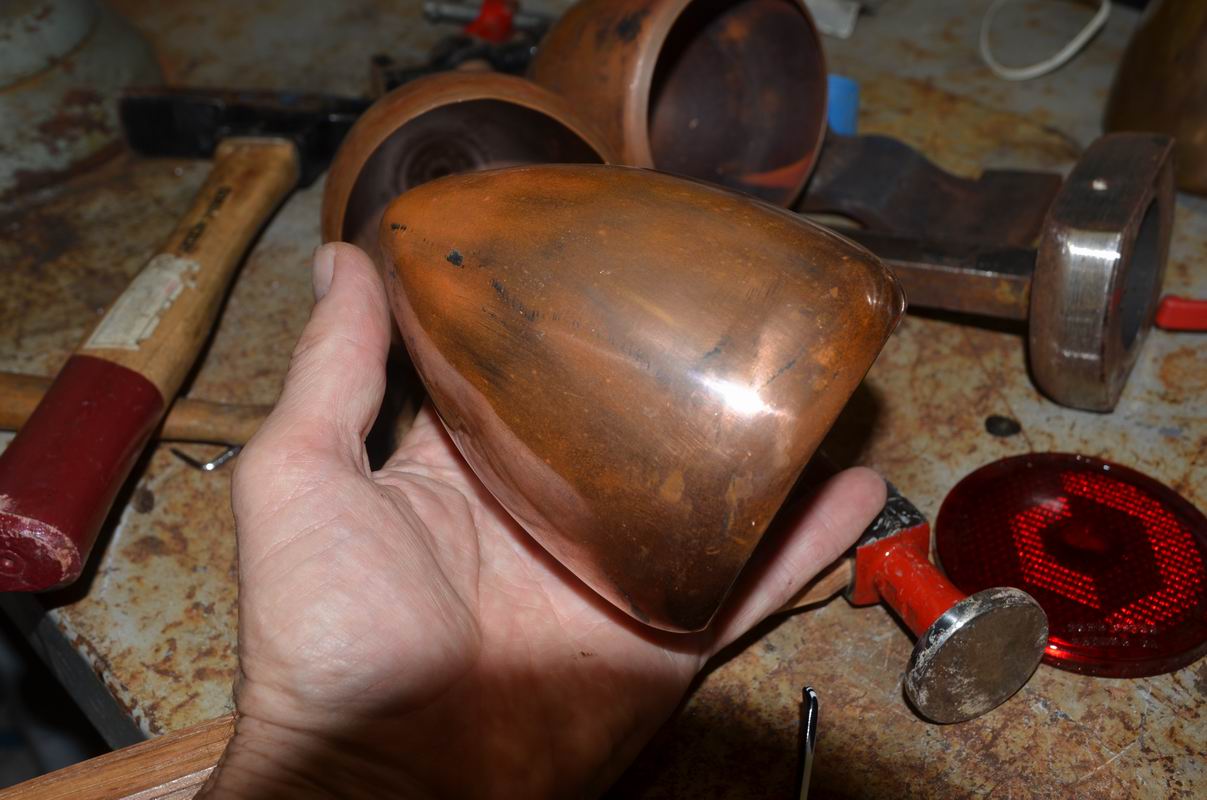
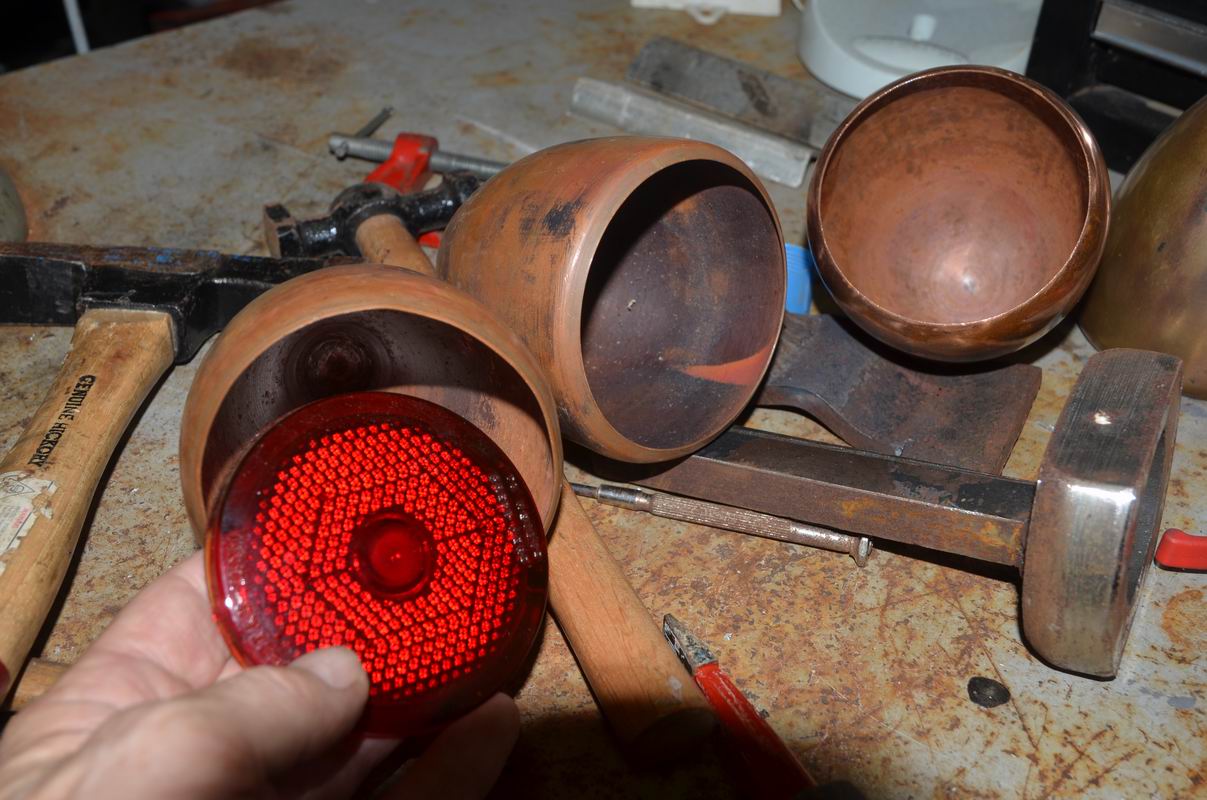
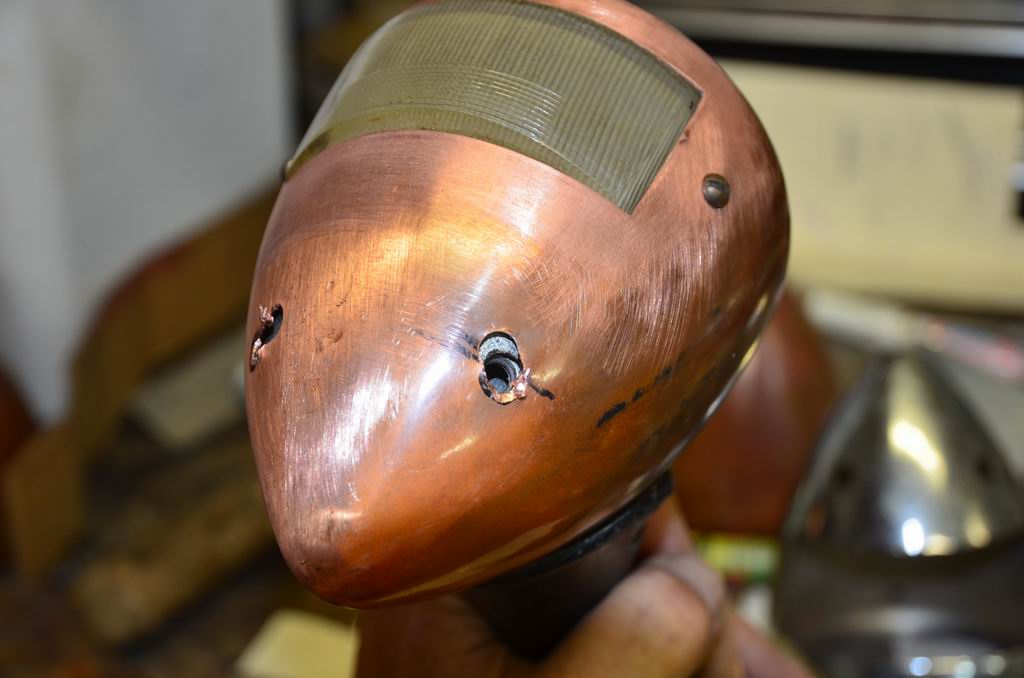
To start I had a metal spinner make me a dozen bodies. They were supposed to be brass but after making one he changed to copper without telling me. Copper is really too soft to work easily and gets out of shape. Anyway I was stuck with these and had to work them into shape. The openings were way too big and the sides had lots of ripples from the spinning process. I spent about 5 hours on each one tapping it into shape and filing and sanding.
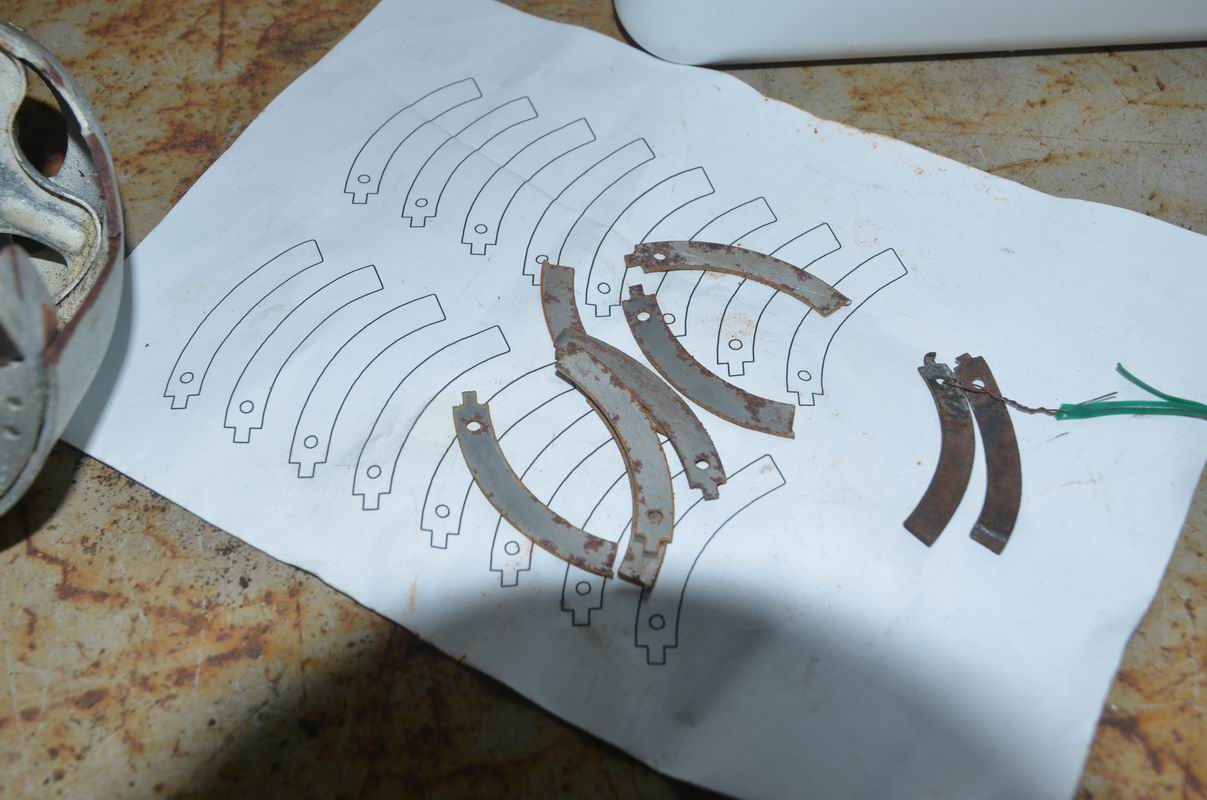
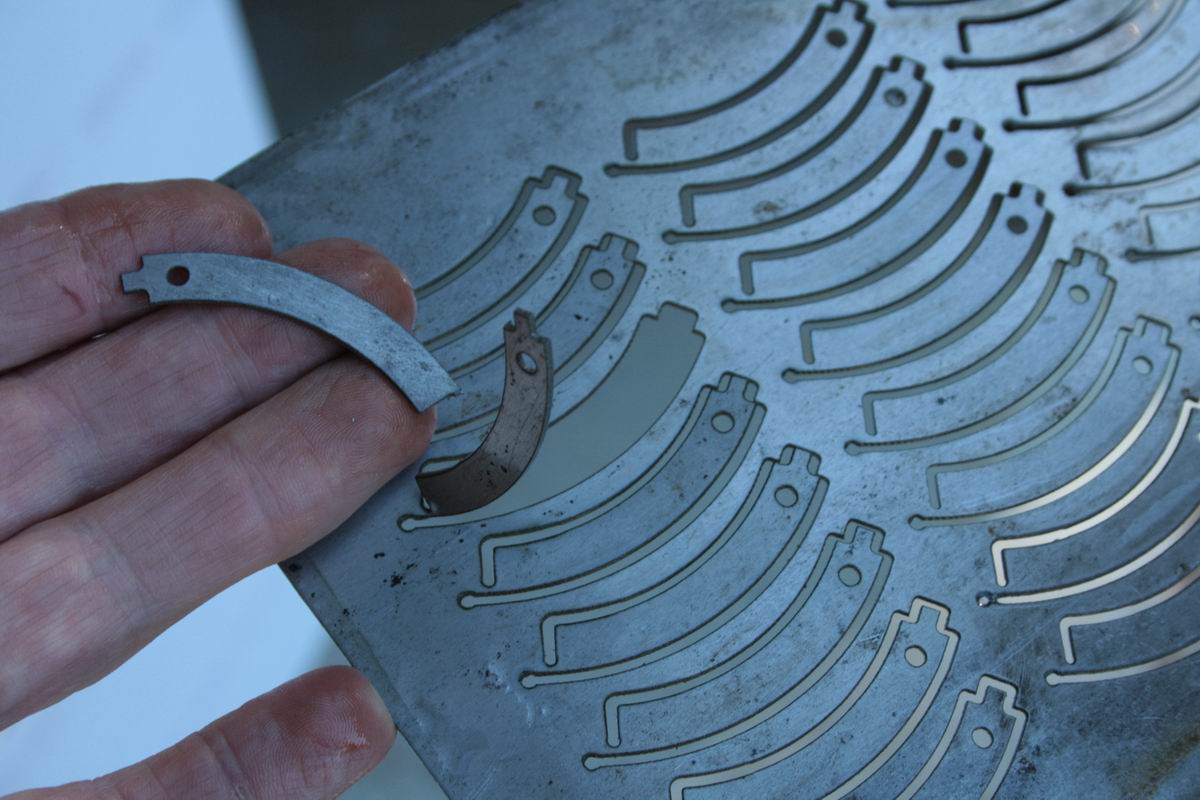
The 3 springs required for each were too rusted to use, and I only had 4 so I had to make new ones. I acquired some flat spring steel sheet, a bit thicker than I wanted but it was all I could get. I drew the profile in CAD and then had them water-jet cut. Next was to reshape to get the curve and bend the tang on the end to fit the locating hole. I made a test one and heat treated it but found it was way too strong. I had to grind off about 30% of the width of the rest of them.
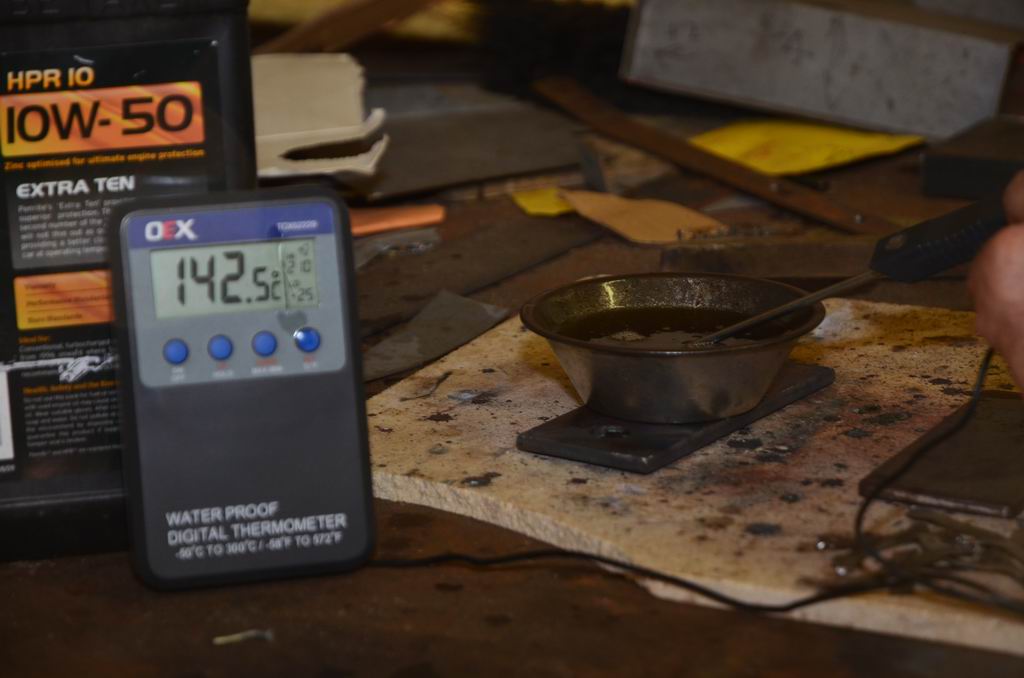
Next part is to heat treat them to make them springy. In the raw state this steel is soft like mild steel and can be bent to any shape and it stays put. First part of the process is to pre-heat a container of oil to about 140 deg C, then I heated each of the springs to a bit past cherry red and dropped them into the oil. This made them hard but brittle. I pre-heated the steel plate under the tub of oil to keep it at the right temp.

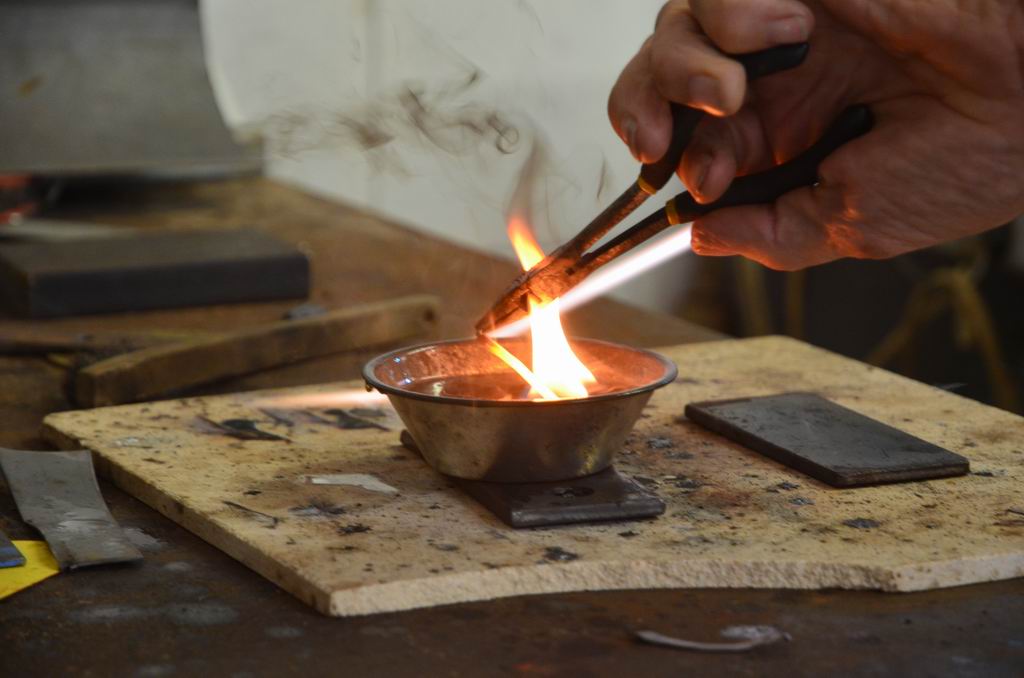
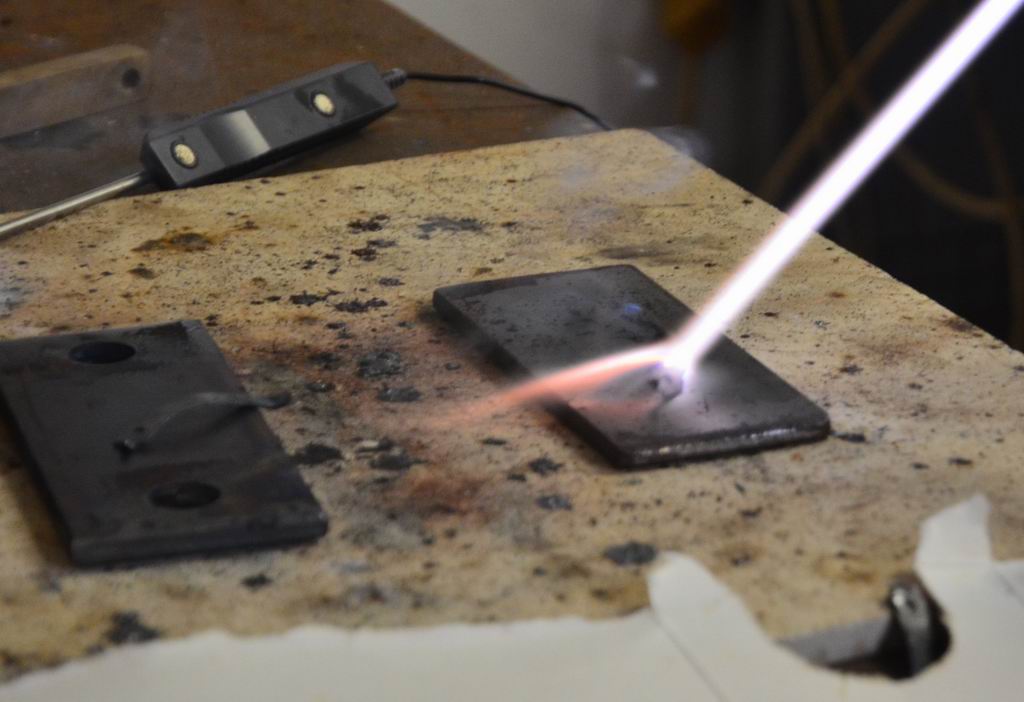
Next step was to temper them. This is done by heating to a blue-grey colour, just before it changes to red, and then cooling slowly. Not to be confused with the wave of blue that passes over the steel in the heating process.
 +
+
You can see the blue colour compared to the untreated part.

Testing shows that it returns to the right shape.
Next is to drill out the holes in the bodies and I cut up an old body to use as a template.
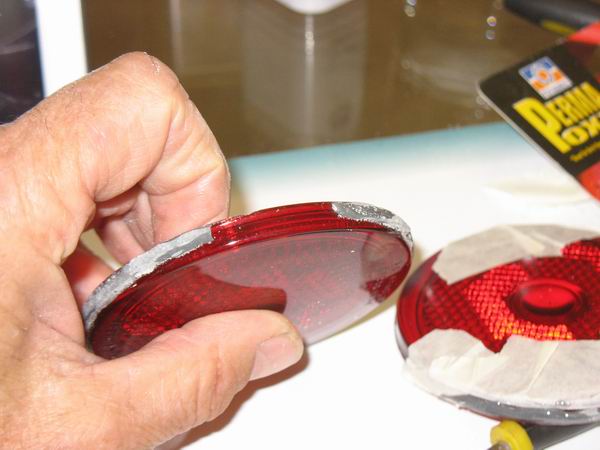
The book says that these lights should be 3. 3/16 dia (81 mm) but I have some new ones (NOS but a different brand) and they measure 83.5 mm. I also have some NOS blue dots still the correct box for 34 Chrysler and they measure 82.5 mm. Confusing so I have to decide what glasses I am using so as to size the body to fit. Also the repro lenses are way thicker than the originals so do not sit as flush. I got another of the darker bluedots to make a pair, obviously these were made at different times periods by the look of the boxes and the lighter colour glass in the newer one. Interesting that the older glass is darker.
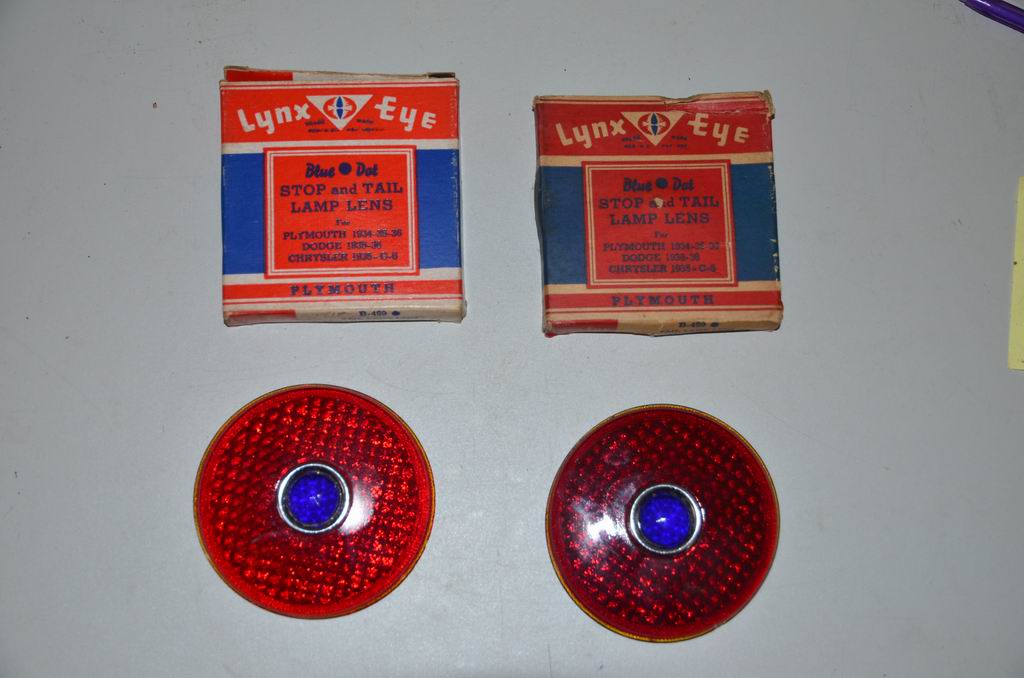
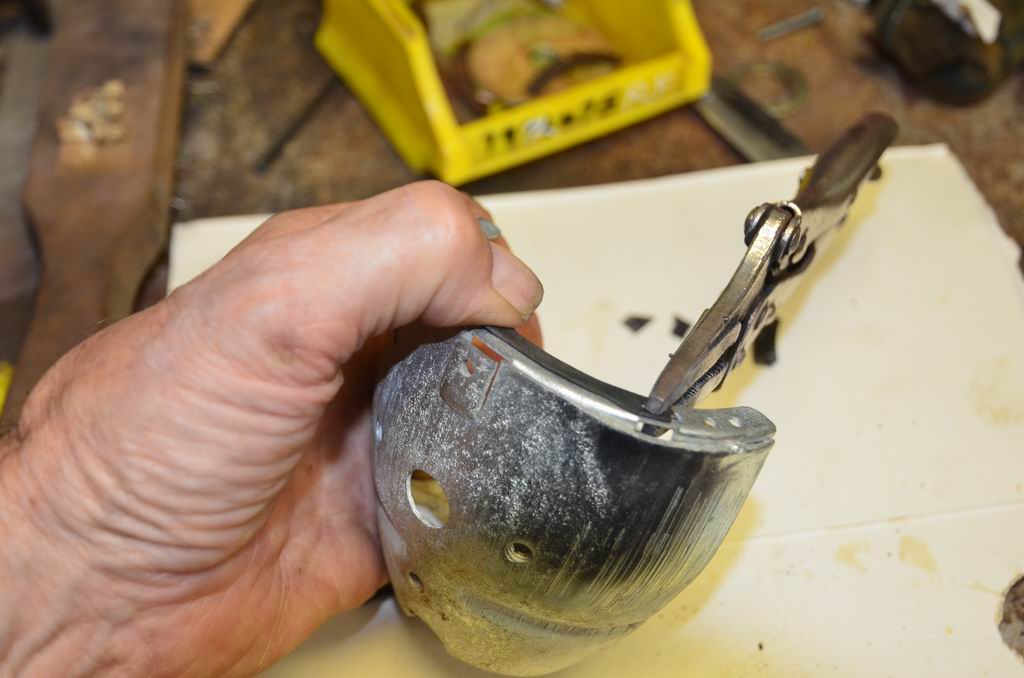
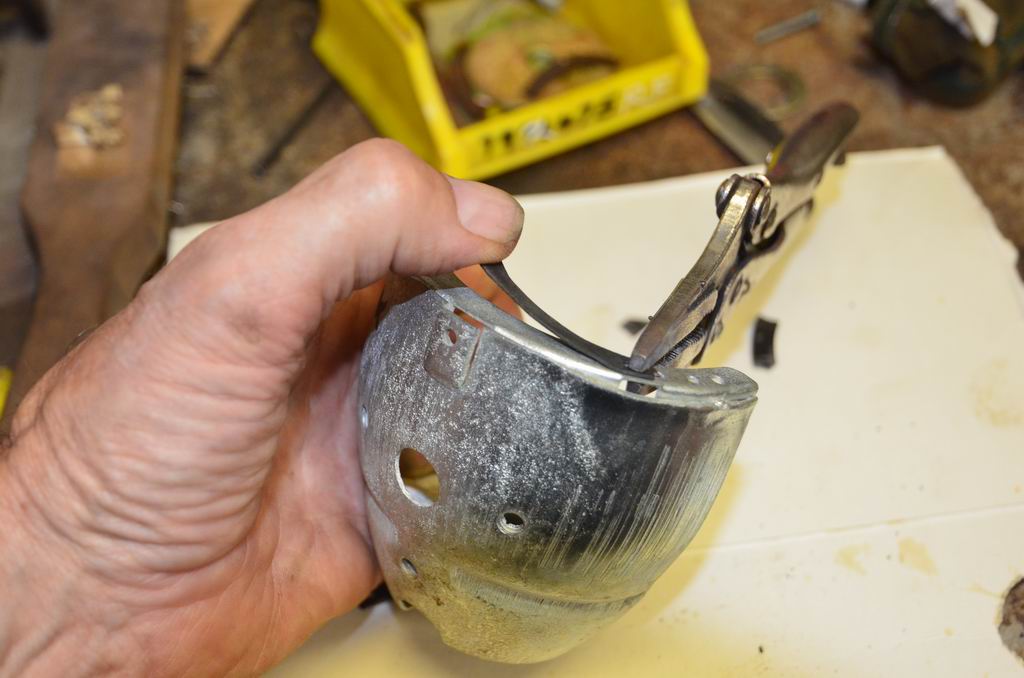
I decided to go with the NOS Tiger-Ey replacements that I bought off Ebay as I am not certain of the legality of Blue Dots. In the photo below you can see the poorly shpaed opening in the light in the centre. I made the tool on the right as a dolly to re-shape the opening. The light at top right is now correct.
Below is the inner body. I cut away the edges and reinforced them, and here I have riveted the springs on with alum pop rivets as a test. I will use monel metal in the final.
This light is for brother Kens CB convertible which is a resto so I had to fit a number plate lens. Unfortunately I broke the only correct one I had so I got one from a very similar lamp and cut out to suit. It is a bit small is width and dia but it works fine. I also had to grind the post to fit the new lamp body as the bullet shape is slightly different. The rough looking hole is for the screw for the number plate post, it was not easy to find the correct location so it had to be slotted but it will be covered.
Here is the lens in place
With the inner body installed with springs it was time to test how the lens fits. Looks perfect ! In fact it is not as these aftermarket replacement lenses are thicker than the originals and stick out about 2.5 mm past the body. The step on the originals was much less and they sat flush with the body, but who cares ? I do !! I changed them as below.
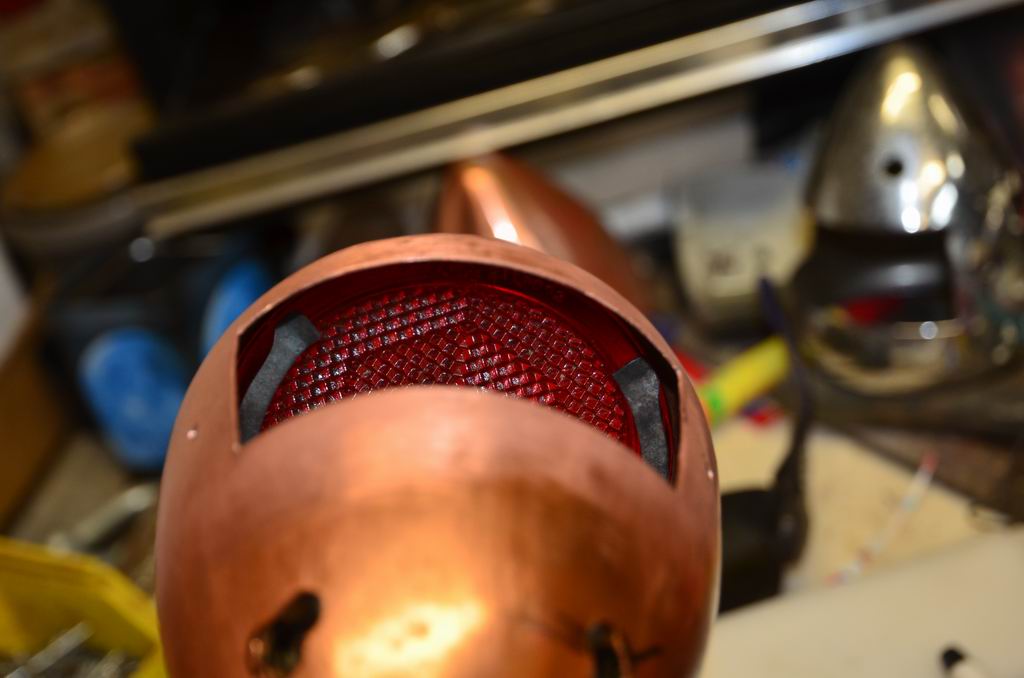
The lens has two flats on the sides and to install it you slide the lens up into the top and then push against the springs and slide it down until it pops into place.
This shows how the upper 2 springs hold the lens in place, there are 3 springs.
I had to add some epoxy because the lenses protruded too far through when assembled (see above). These are aftermarket lenses, NOS but not accurate copies.
This is the flush looking fit that I was after. I found that one of the springs was not tempered properly so had to start again on that.
A beautiful Art Deco look..

Final assembly, I siliconed the lenses in place to keep the insides clean, and to stop the lenses vibrating out of position.
In need of a clean but looking great.
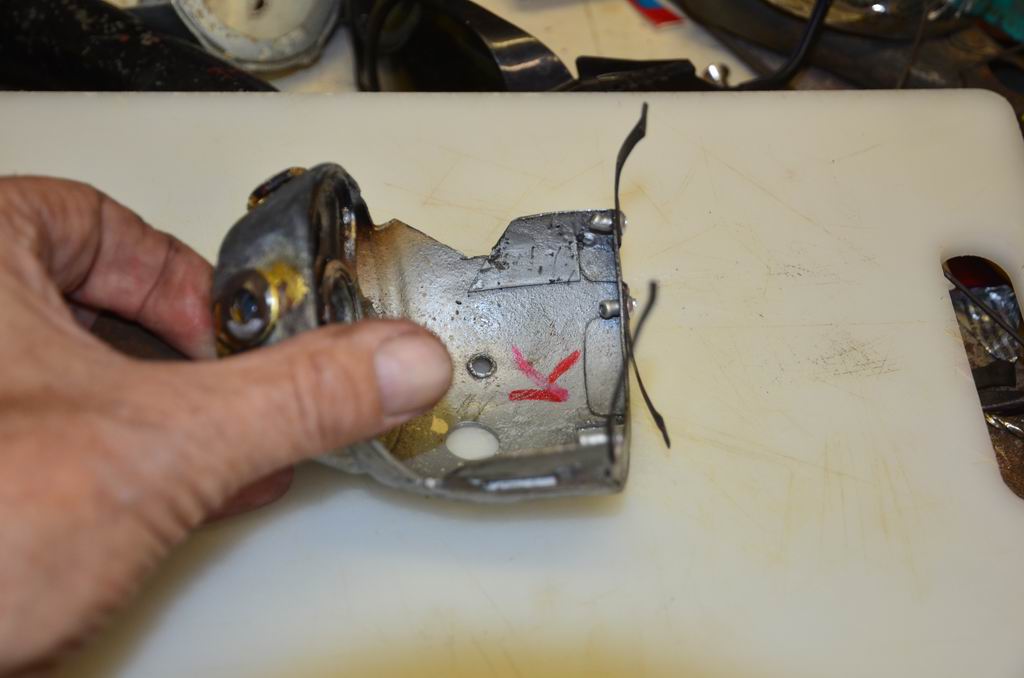
The posts were damaged and screwed together years ago. I got Alex at Caloundra Sheet Metal to weld the crack, can't be seen now.
The screws can just be seen in this photo, they are still in there covered with the chrome now, Wizard really is a Wizard. Thanks Steve and Julia. (Narangba Qld)