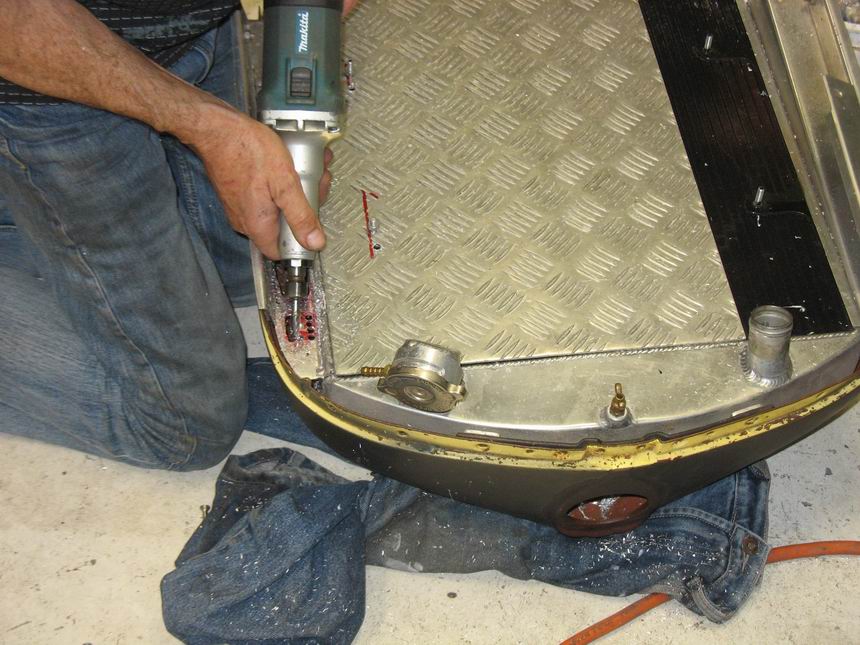
I started by cutting some air holes in the side support panels of my Aluminium radiator. The checkerplate is to protect the core. I painted the core black as I live near the ocean and salt kills alloy very quickly. Not sure if it helps with cooling. Radiator was custom built to my drawings, I made the side plates.
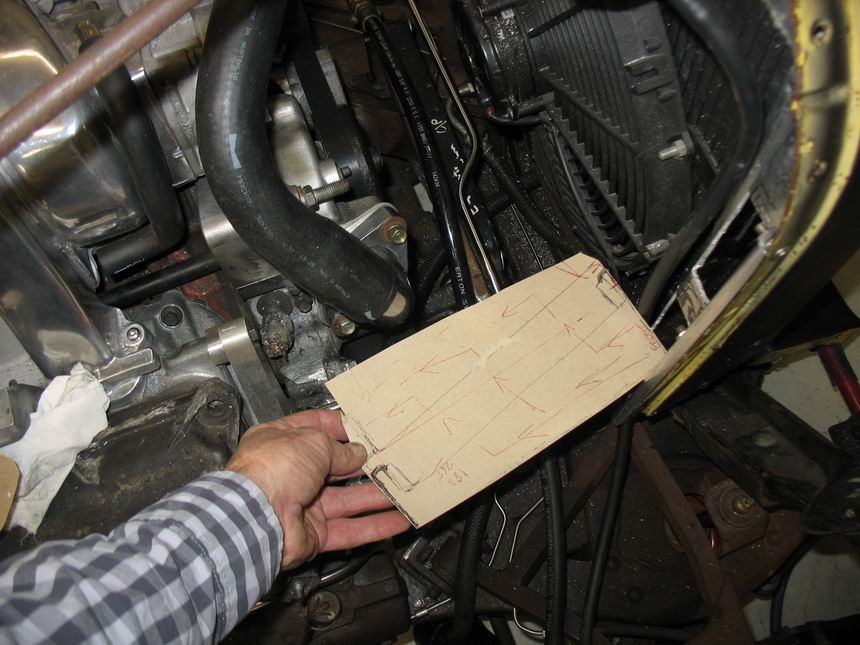
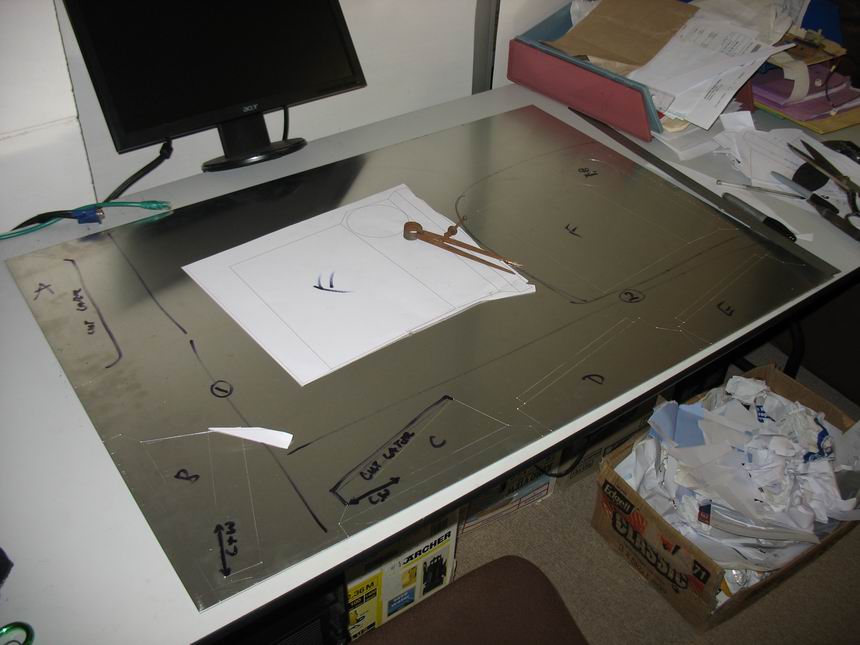
Next I made a cardboard template to get an idea of the profile I needed to get good air-flow and to fit it in the limited space.
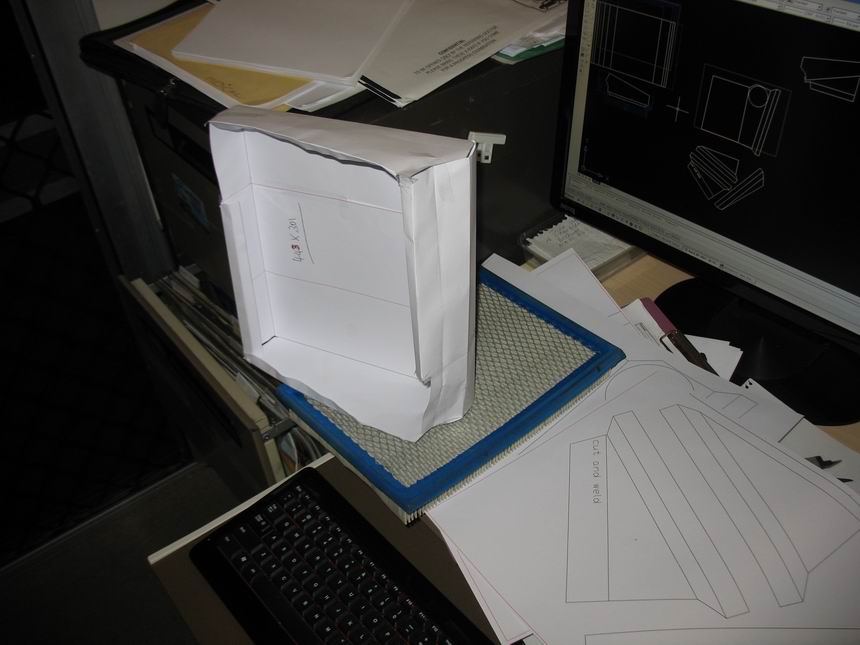
Then I trasferred this to CAD and printed it out 1:1 on card and cut it out to see how it fitted.
I then put all the prints onto my alum sheet and prick-punched all the corners so I could then scribe lines and cut it out.
Test fold shows the profile and air-flow.

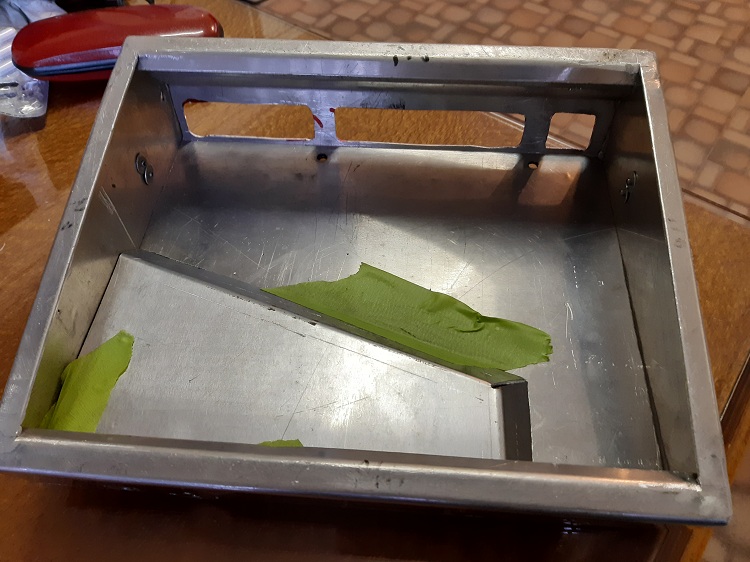
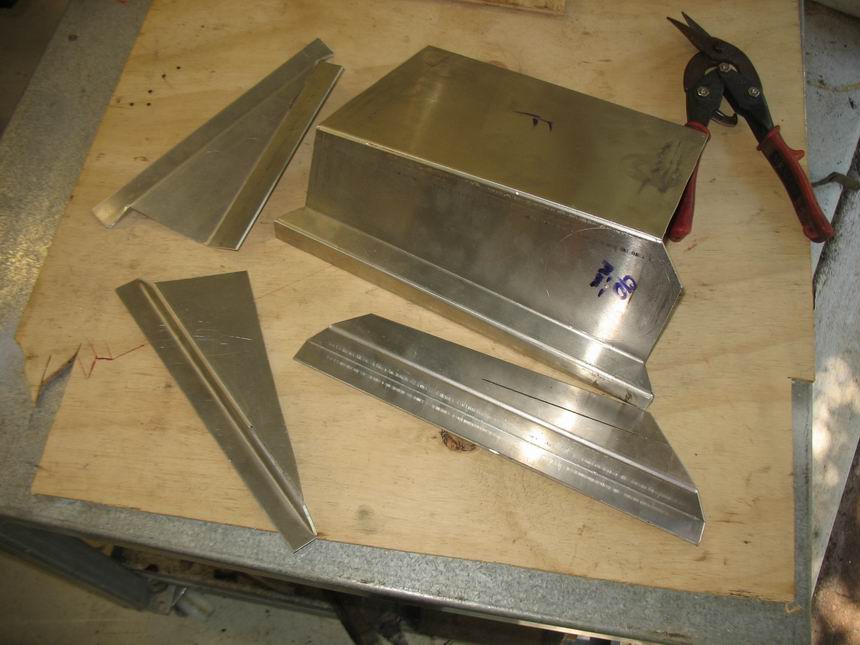
These are the bits for the engine side of the box. I finally got to use what I learnt in 4th form at High School in the 60's, got my only ever 100% mark for Solid Geometry then, but seldom use it. Having a folder at home is such a good thing.
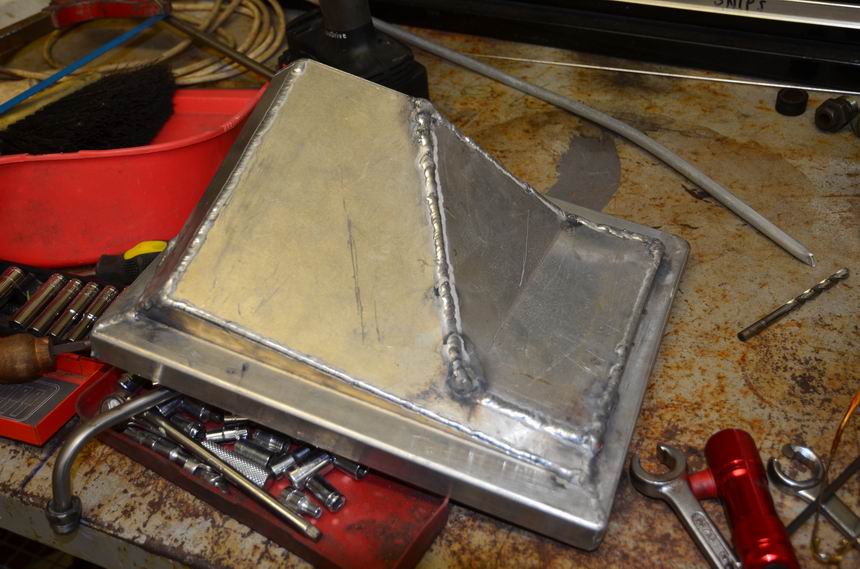
I then welded it up, my first alum welding job. I rang Ian Eliason who talked me through all the settings on my TIG. A fair bit of grinding required but not bad for a first effort. Sad thing is that I seldom do this so now have resorted to just tacking things together and getting Alex at Stainless Bits to weld it for me, much neater.
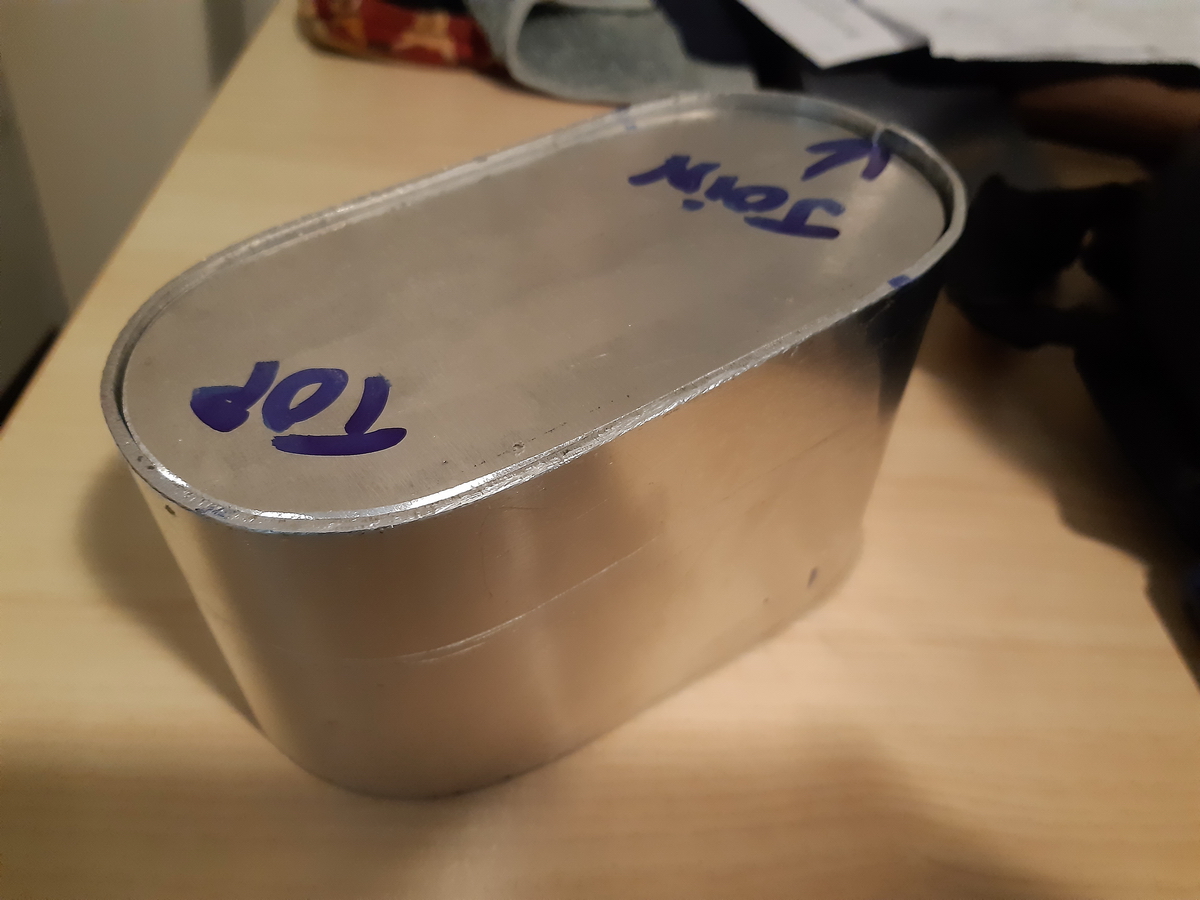
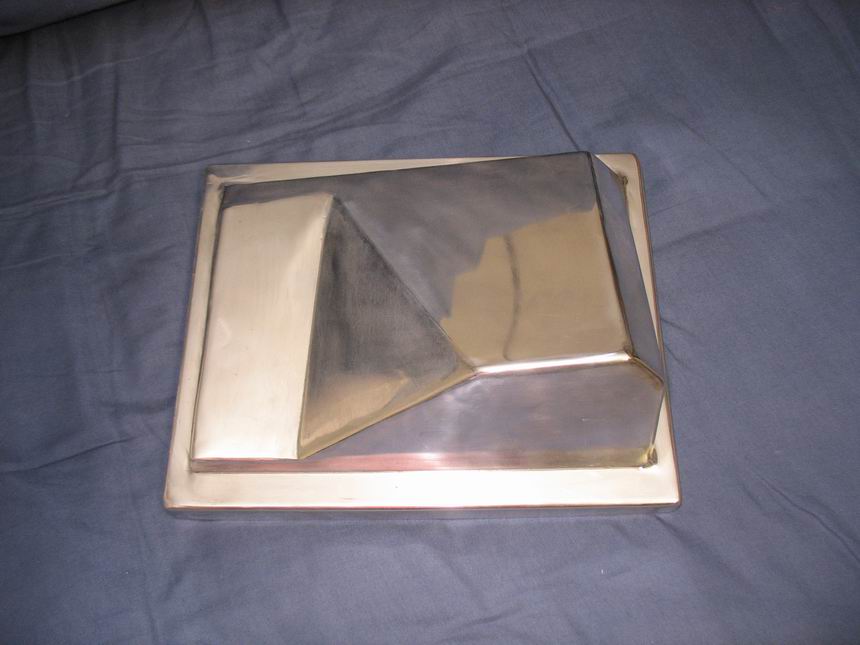
It polished up ok, but later this was altered as I changed my mind as to the location of the outlet.
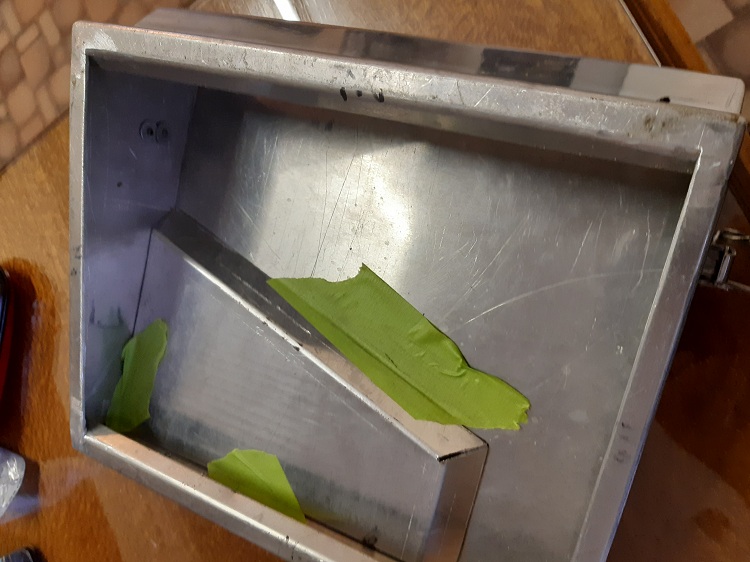
With both halves welded I drilled out holes for the air intake.

Then matched them up. Total area is 10 sq inches which is more than enough. By the time the suction noise gets out of here it will be down to zero, and all that air bypasses the radiator. No need to seal this as it will be a high pressure area in front of the radiator which will also help.

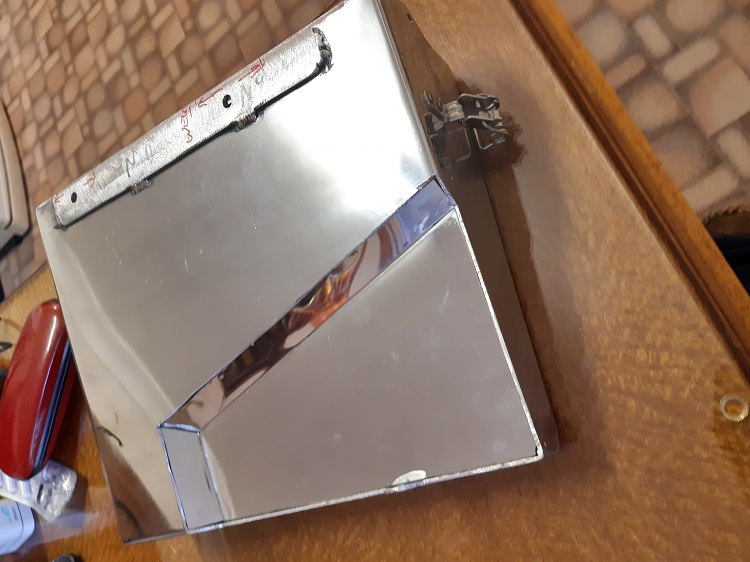
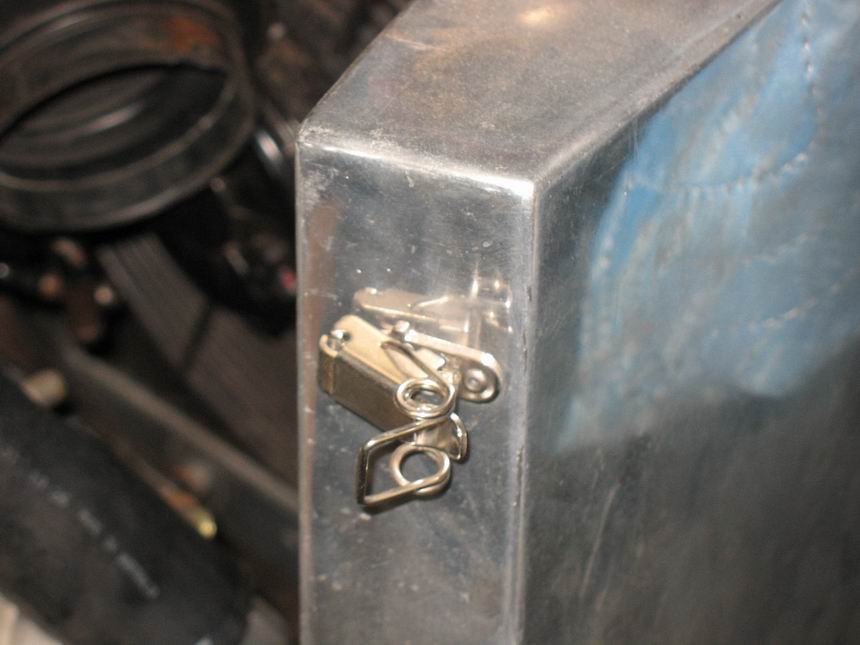
Next I welded on some tabs for the over-centre clips to connect.
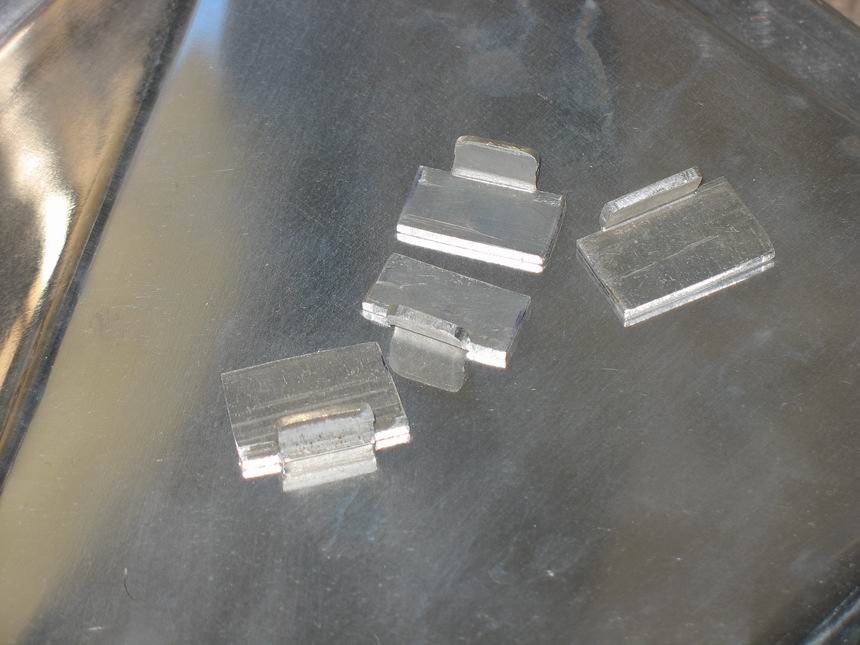
Neat little wire-sprung stainless clips from England.
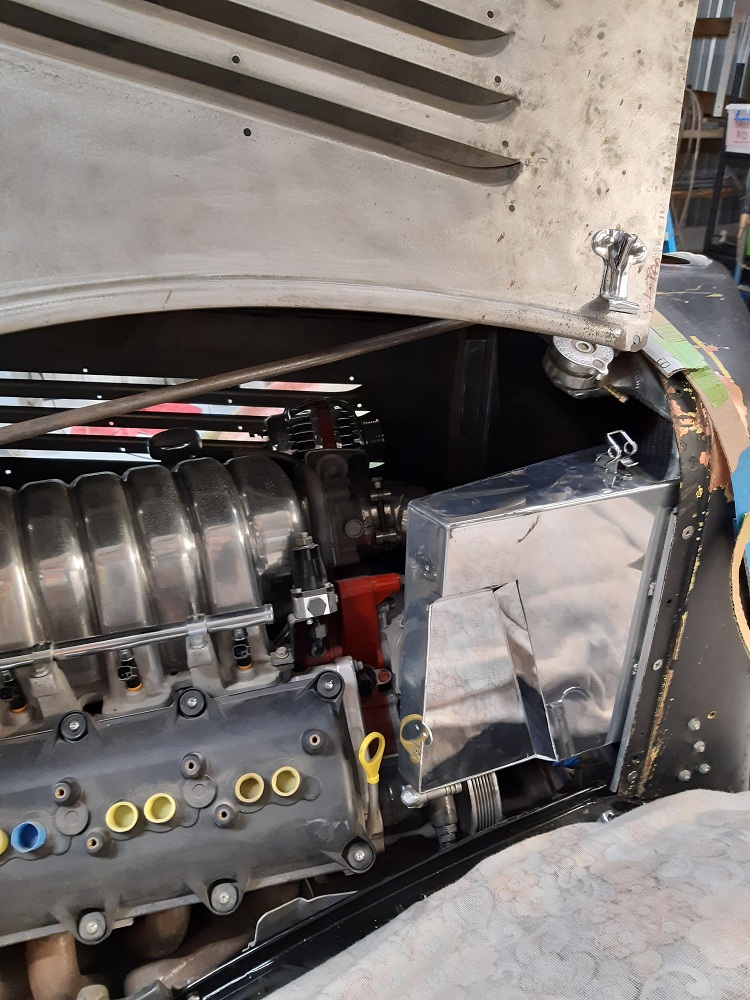
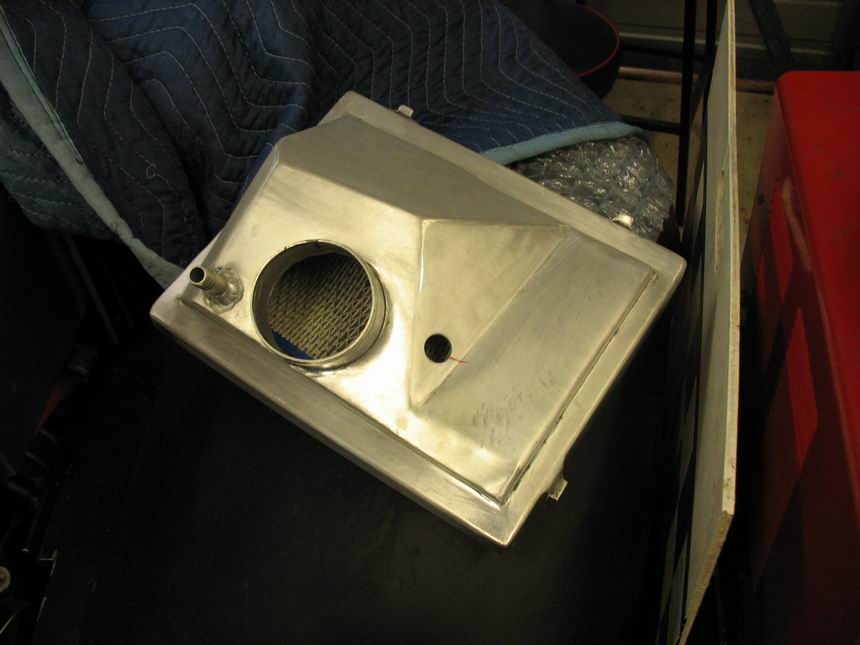
This is the final shape of the engine side of the box. The hose fitting is for the crankcase vent, the hole for the air-temp sensor.
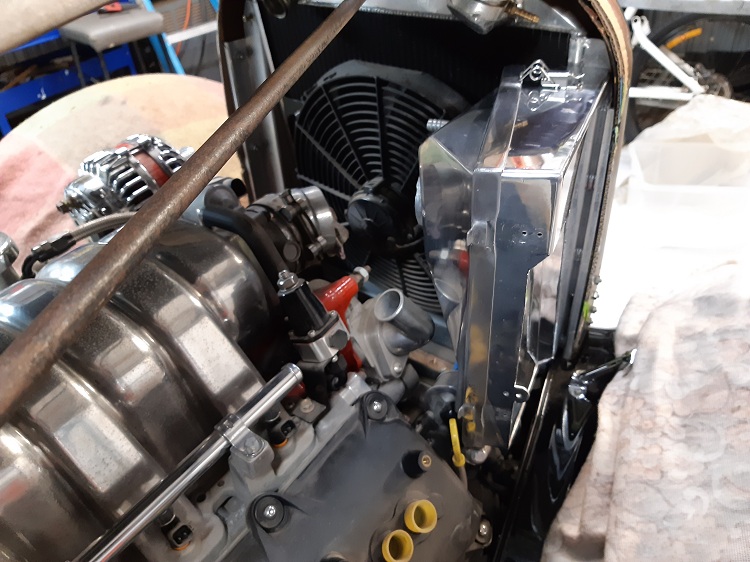
Installed as a trial fit. I made an adaptor for the throttle body to take the Commodore flex pipe. Note how the Commodore radiator hose I found fits perfectly and goes around everything else.
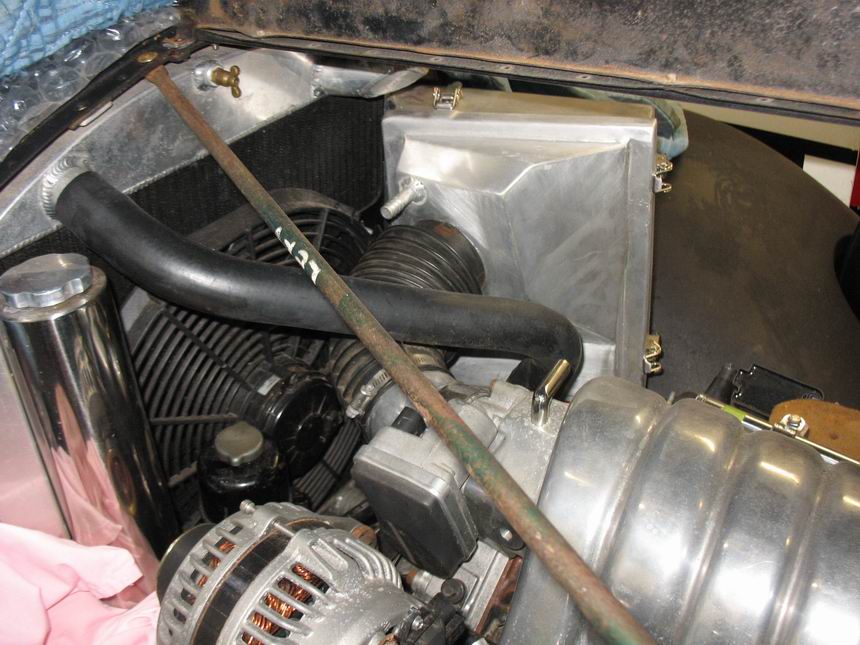
The Drivers side view.
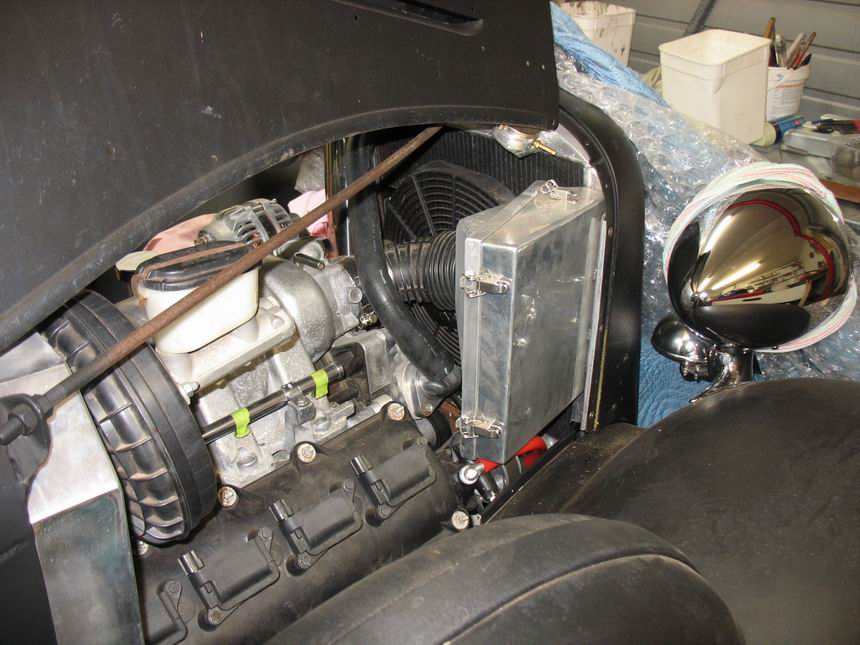
I also made a washer tank from alloy to fit behind the booster. This side of the engine bay is the busy side so I will only open the left side for display. Only an alternator over there that will get polished too. In another life I would probably make all this from stainless to save polishing over and over. There is a power steering pump and box hiding down there too. Now to re-polish it all, you can see the corrosion on the intake manifold already.

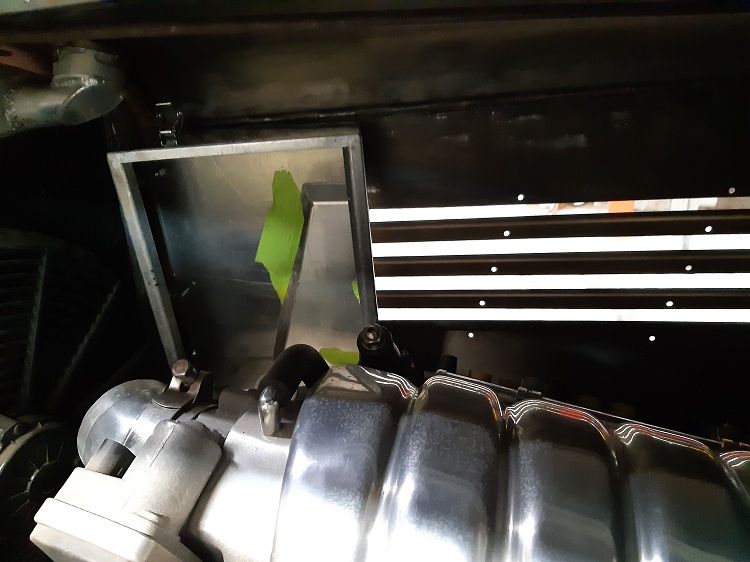
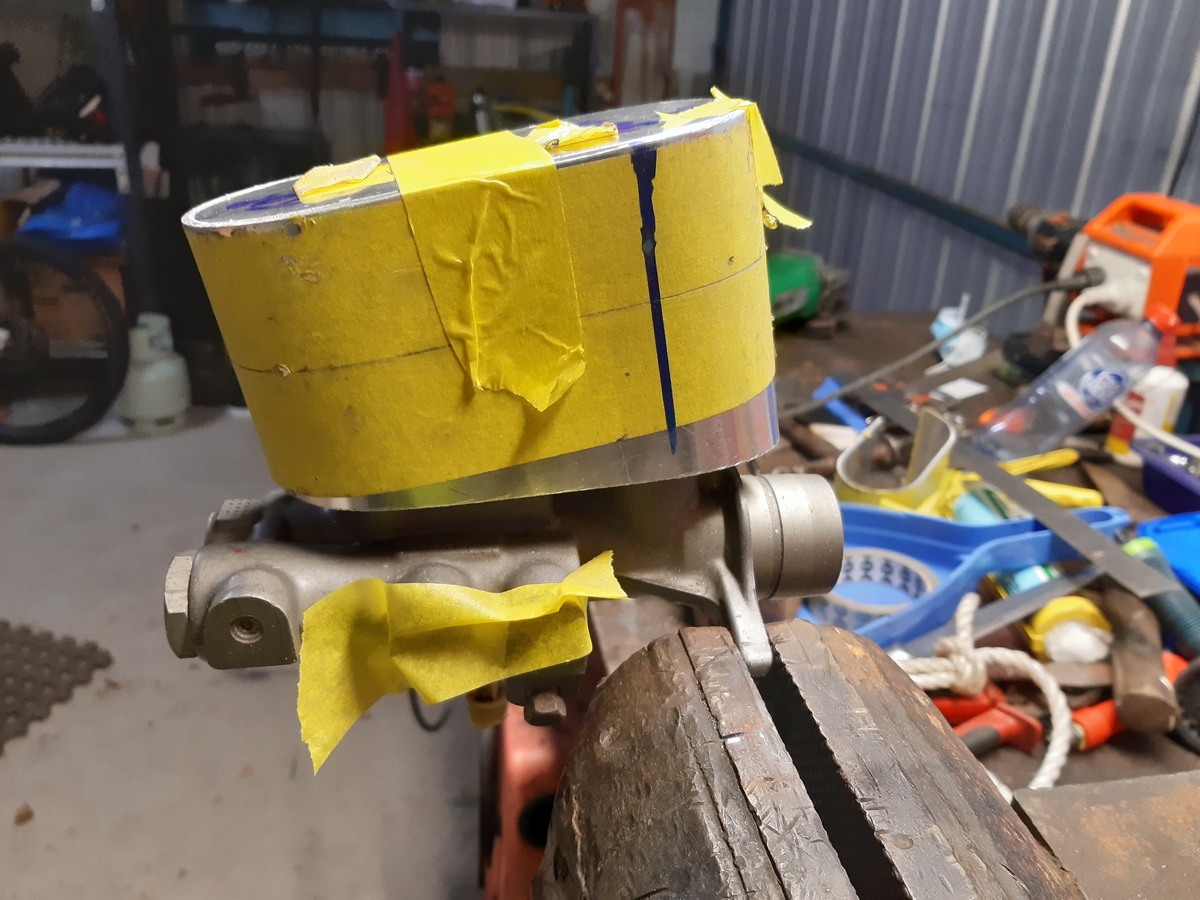
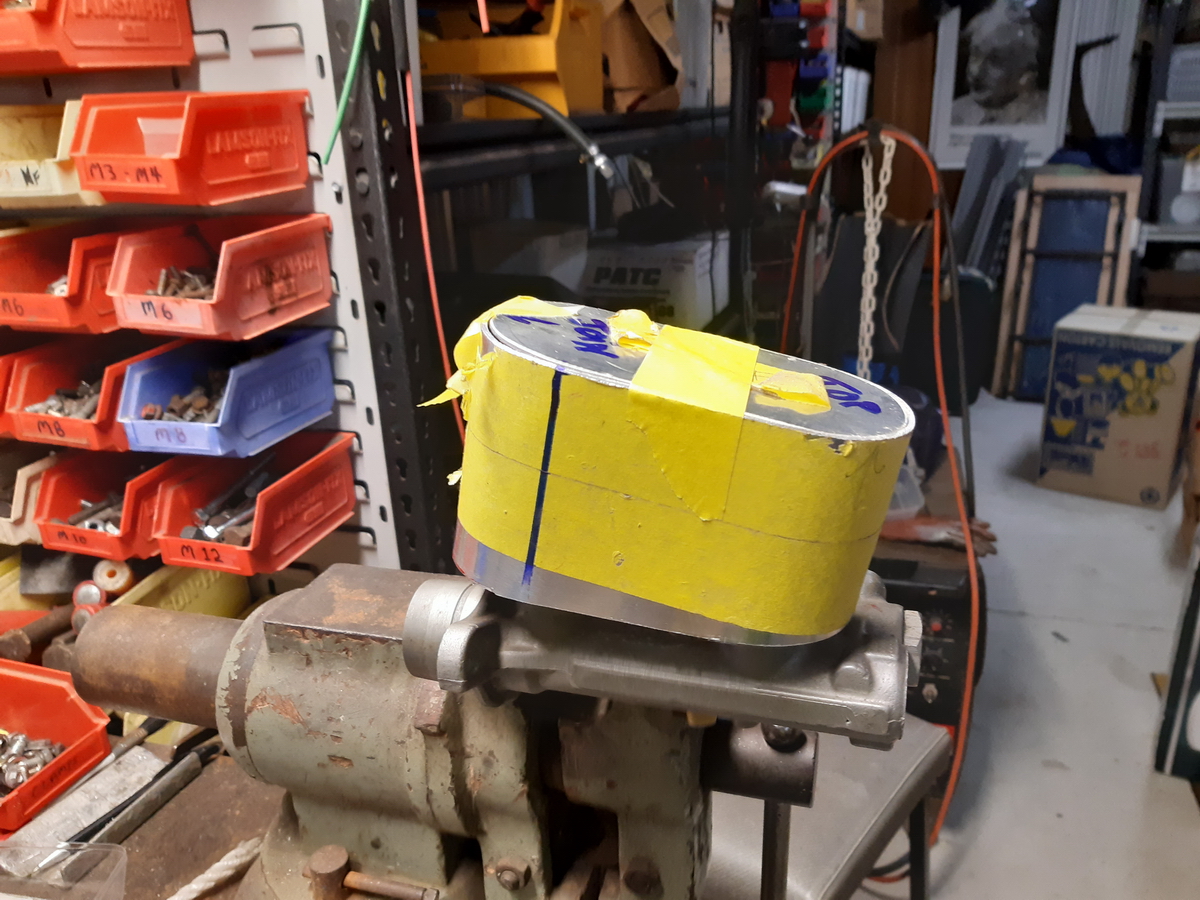
Fast forward to April 2020 (what happened to the last 8 years??) When I first made this I noticed that the louvres in the bonnet sides just touched the back of the box. I tried to fix it and thought about flattening them a little but that seemed like adding to the mistake instead of fixing it. Today my first job on the car after moving it into the shed in Castlemaine (I just moved back here from QLd, brrr)) would be to modify the box to clear the louvres. I found a piece of 2 mm alum and cut it bigger than needed and polished it before I cut and folded it. Here it the result. Trial-fitted now before being welded and final finish. |